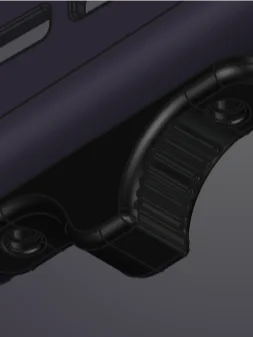
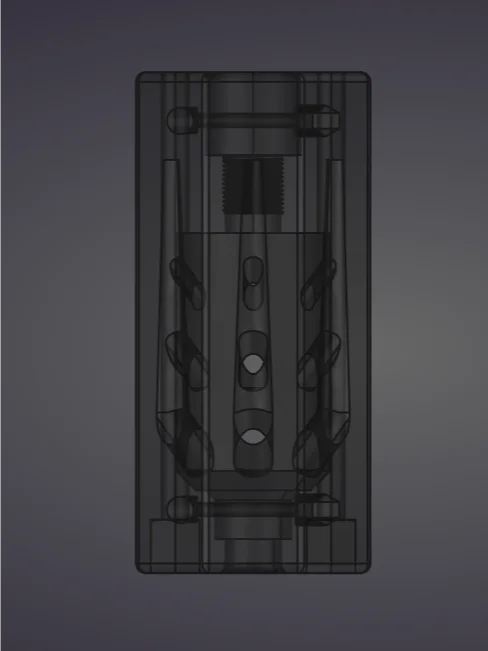
WORKER'S COMP DIY AKM Compensator v0.1 - FreeCAD Project
This product is a download of the working FreeCAD source files for the project. Since Odysee does not allow uploads larger than 16MB, I'm making it available to members here. Enjoy and be safe!
...
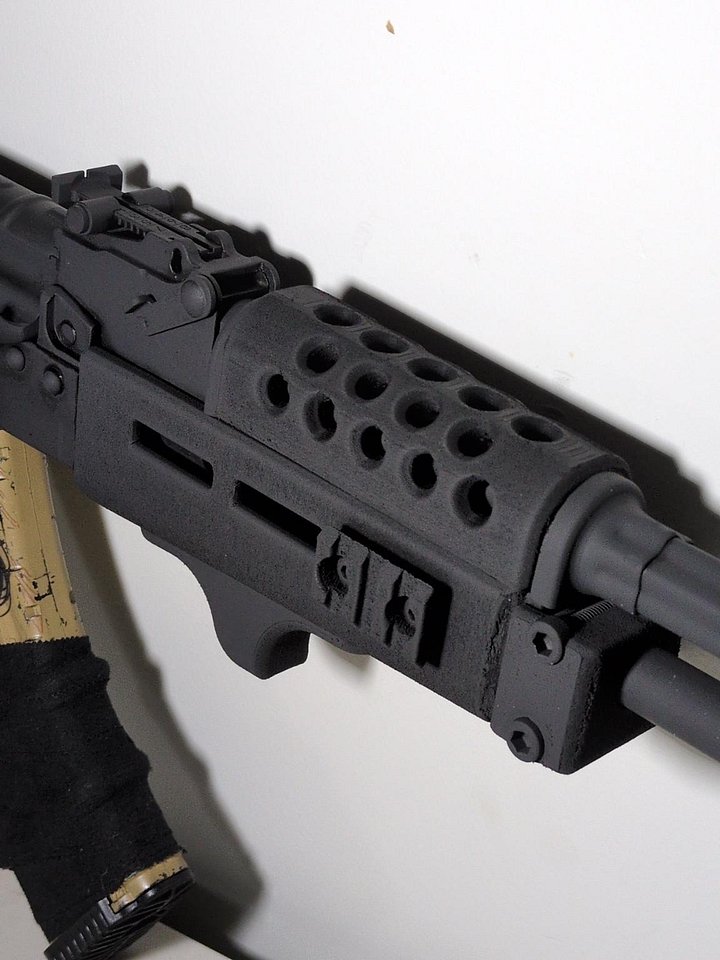
A printable recoil compensator for your AK, because you're poor.
Printing
- Material: PA6-GF25
- Nozzle: 270-290
- Bed: 100
- Supports: none
- Orientation: upright with muzzle end facing up
Materials
* 4x M3x30 screws
* 4x M3 nuts
* 1x M6x100 button head cap screw
* 1x M6x120 socket head cap screw
* 2x M6 nuts
* 1x printed worker's compensator
* 1x 14x1LH to 1/2x28 thread adapter (printable model is included, but buying or machining one is recommended)
* Threadlocker blue
Assembly
* Thread the two M6 nuts onto the ends of the M6 screws and use them to press the nuts all the way into the recesses on the front of the muzzle device
* Unscrew the M6 screws and set them aside
* Press each of the M3 nuts into the cutouts on the underside of the compensator
* Thread the 4 M3 screws through the top until they make contact with the nut on the otherside
* Use threadlocker and do not overtighten
* Thread the button head M6 screw through the rear face of the compensator above the muzzle mount
* This will be your makeshift timing device - the timing pin on the AK barrel should either click into the screw head or tighten until flush
* This also acts as a reinforcement rod, thread it all the way through the nut on the otherside
* Insert the thread adapter and screw until tight - if you are using a printed one be advised that it may become stuck to your barrel
* If you have a cleaning rod, remove it - sorry :(
* Thread the compensator onto your AK muzzle until properly timed (the tiing screw should make contact with the front sight and face up)
* Screw the final M6 socket head cap screw through the bottom reinforcement channel starting from behind the cleaning rod retainer
* Thread until tight and the socket head is seated in the retainer for the cleaning rod
Testing
HEY THIS SHIT CAN BE DANGEROUS SO BE SAFE! MANUFACTURE AND USE THIS DESIGN AT YOUR OWN RISK.
Pretest
- Inspect print for defects. If there are any, dispose and start over
- Check that the rifle is clear and make it safe
- With the rifle pointed upwards, firmly grasp the compensator with both hands
- Ensure the device does not loosen when manipulated along X Y Z axes (forward/back/side/side/twist/up/down/shake)
- Insert a cleaning rod through the front of the compensator to check basic alignment
First shots
- Use proper PPE - gloves, long garments, safety glasses, ear protection, mask
- Construct a blast shield that adequately separates the shooter from the muzzle and and debris or shrapnel that may orginate from it
- Load a single cartridge and test fire
- Unload and make safe
- Inspect the compensator for signs of breakage, baffle strike, looseness, or degradation
- If anything looks sus, dispose and start over
- Continue to fire from behind the blast shield in incrementally longer sets
- Inspect between each set of incremental shots and dispose and start over if degradation is visible
Long term use
At this stage of testing, this design has a seen a round count of about 100 within about an hour session. After a final 30 round rapid fire, areas around the exit and gas ports showed some mild melting/relaxing. Further stress tests must be conducted before this design should be considered for anything but experimental use.
Changelog
8/22/26 added fcstd project file that was not included in the initial release
License
HAYMARKET CUSTOMS 2026 / CC-BY-SA-NC